Quick Links
Players near the end of Act II of Baldur’s Gate 3 will find themselves approaching the Thorm Mausoleum in the Shadow-Cursed lands. This quest can easily be picked up alongside the main quest Find Ketheric Thorm’s Relic. The quest Kill Raphael’s Old Enemy is necessary to proceed with the main quest, as you need the Umbral Gem to complete the tasks in the Gauntlet of Shar.
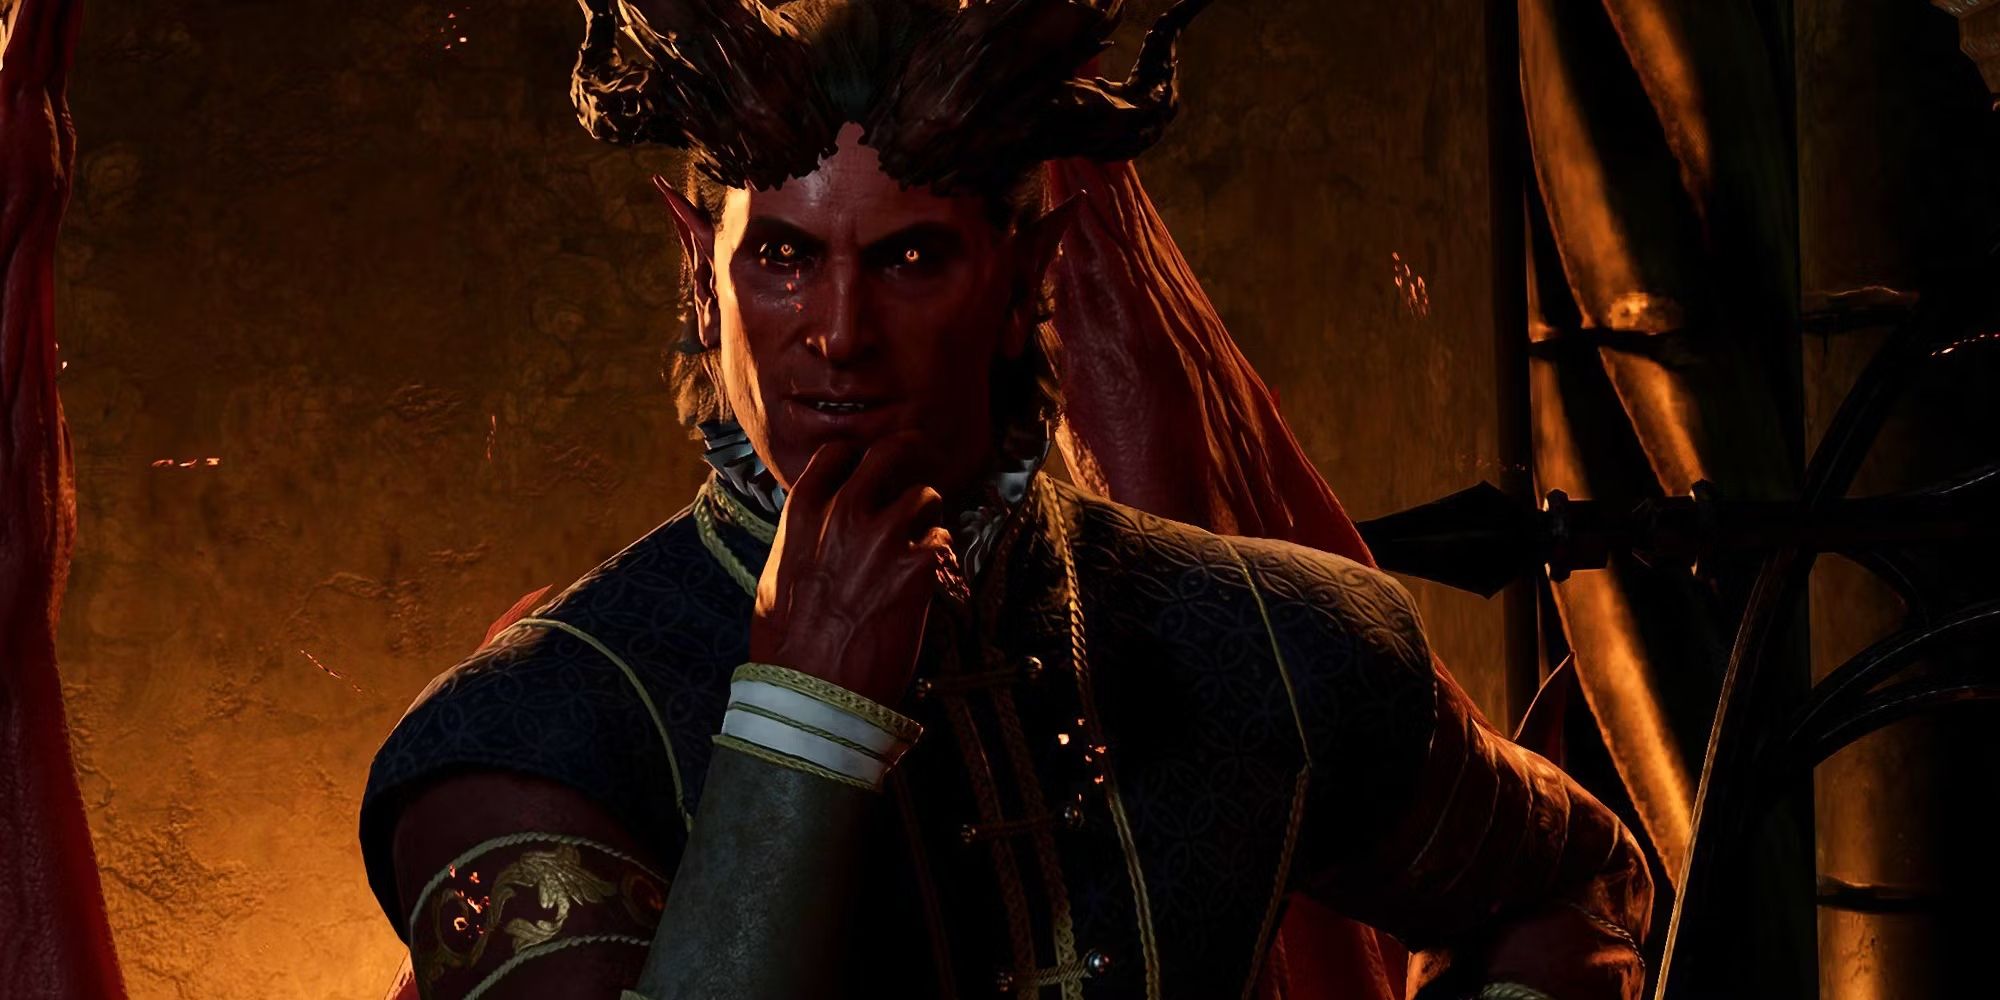
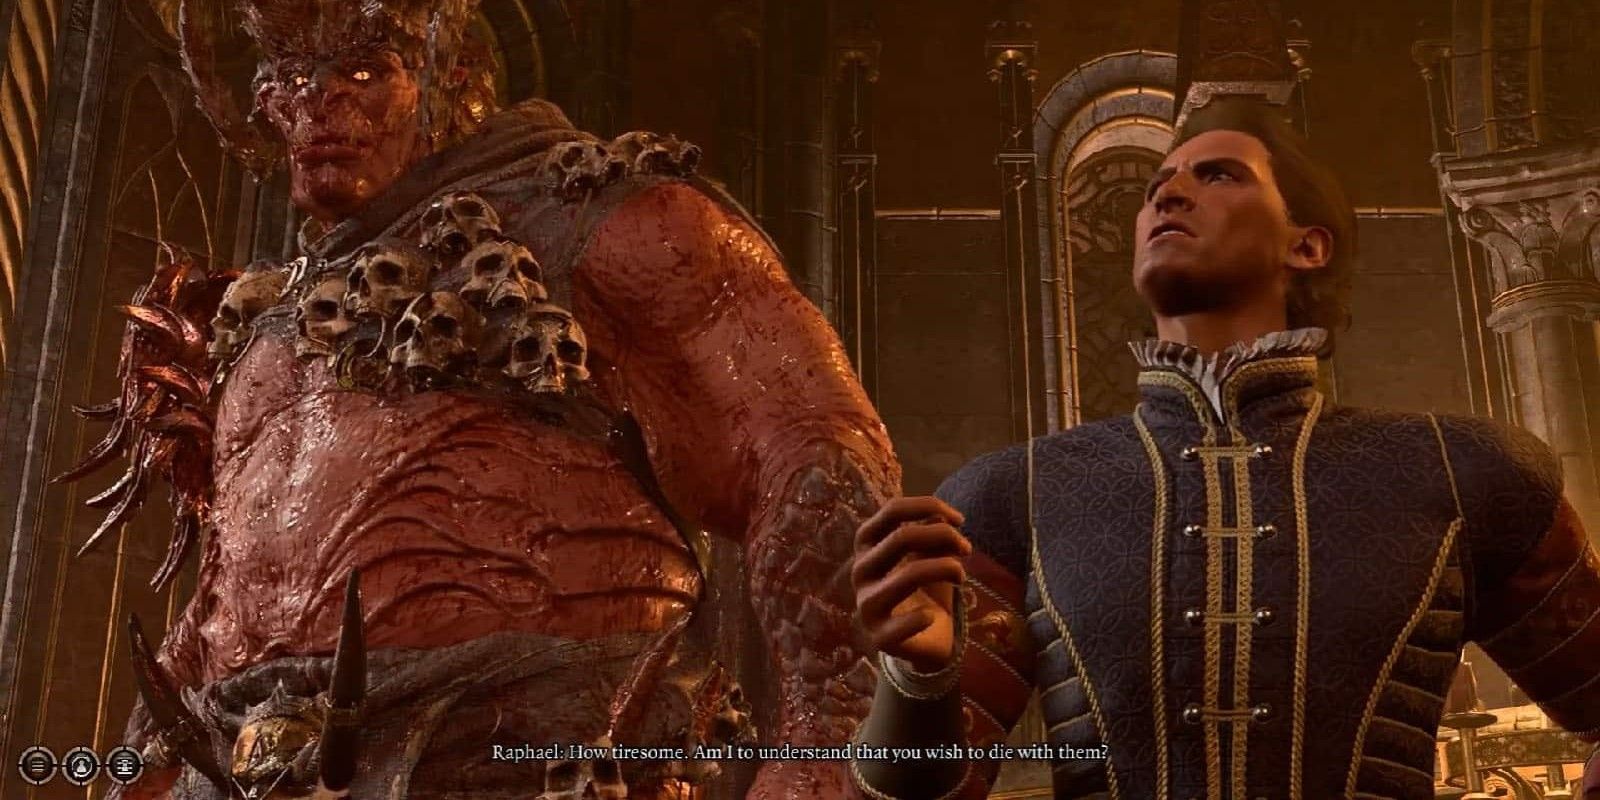
As you approach the mausoleum you will be confronted by the dastardly Raphael. It’s a good idea to bring the vampire Astarion along with your party to learn more information for his personal questline from this NPC. Raphael will inform the party he wants his old friend the devil Yurgir dead. As always in the game, the player has some important decisions to make regarding Yurgir’s fate, and the quest can end drastically differently as a result of your choices. Here’s how to make your way through the mission’s objectives, and the different potential outcomes.
Updated by Katie Simpson on September 15th, 2023: Baldur’s Gate 3 is continually being patched, and new secrets are being discovered regularly. We’ve made some changes to the names of quests and locations to better fit their appearance in-game. We’ve also expanded the section on helping Yurgir break his contract to provide players more options for completing this quest.
Where To Find Raphael
Raphael can be found standing just outside the entrance to the Thorm Mausoleum, also called the Grand Mausoleum. The Mausoleum can be found by heading north from the Moonrise Towers location and following the road through Reithwin Town northeast, towards the House of Healing. This area contains some enemies that may take some sneaking or a few rounds of combat to bypass, such as the Shadow Cursed Harpers and the nurses within the House of Healing. Be sure you have your Moon Lantern to stave off the effects of the shadow curse. Make your way behind the House of Healing and up the hill, staying on the road to spot Raphael waiting for you just outside the Mausoleum entrance. Talk to Raphael to receive the quest on your way into the Mausoleum. Now the real challenges begin.
Inside the Thorm Mausoleum, you must proceed through the main chamber and into the deepest room, where you will find three paintings depicting Ketheric Thorm’s personal history. Press the buttons below each painting in the following order: Moonrise Towers, Grief, General.
Be careful: Pressing the buttons in the incorrect order will trigger traps.
Proceed through to the floating platform, interact with the transversal gem, and descend into the Gauntlet of Shar. Once inside, you can go directly to (X:-652 Y:-776) to find the Orthon Yurgir that Raphael wants you to kill. You will probably run into a trio of reanimated swordsmen and several Dark Justiciars. Defeat the Dark Justiciars and the Umbral Tremors. Head right and hop down the broken stairs to spot a Displacer Beast, which will lead you straight to the encounter with Yurgir.
Options For Dealing With Yurgir
There are three ways of resolving this quest. You can kill Yurgir as Raphael desires, help Yurgir break his contract with Raphael, or exploit a convenient loophole in Yurgir’s contract by defeating the final Justiciar. Here’s an at-a-glance guide to the different results of each course of action, followed by an in-depth breakdown of the options and how to go about them. Some choices will have an impact on how your party members feel about the situation.
|
Action |
Requirement |
Result |
Party Response |
|
Kill Yurgir |
Fight Yurgir, the Displacer Beast, and the Merregons |
Quest Resolved |
N/A |
|
Help Yurgir (Warlock only) |
Succeed a DC16 Persuasion check |
Success: Quest Resolved, receive quest Break Yurgir’s Contract Failure: Fight with Yurgir starts |
Astarion disapproves Shadowheart disapproves Wyll disapproves Karlach disapproves |
|
Help Yurgir (Non-Warlock) |
Use a loophole to potentially defeat Yurgir without a fight |
Quest Resolved, potential to avoid a fight or make the fight easier |
Astarion disapproves Shadowheart disapproves Wyll disapproves Karlach disapproves |
|
Kill the rats |
Killing the last Justiciar will break Yurgir’s contract |
Raphael will take Yurgir, quest resolved |
N/A |
If you value your relationship with Astarion and have already agreed to help him decipher the runes on his back from Cazador, the best choice is to kill Yurgir. The fight is challenging but yields rewards that are not obtained with the other methods, like infernal iron.
Alternatively, you can talk to Yurgir to exploit a loophole in his contract with Raphael; this may make the fight significantly easier depending on the success of your rolls. Warlock characters have a third option: Break Yurgir’s Contract. Non-Warlock characters do not have this conversation option.
Persuading Yurgir to kill his underlings will not grant experience for their defeat, as you didn’t fight them.
Kill Yurgir
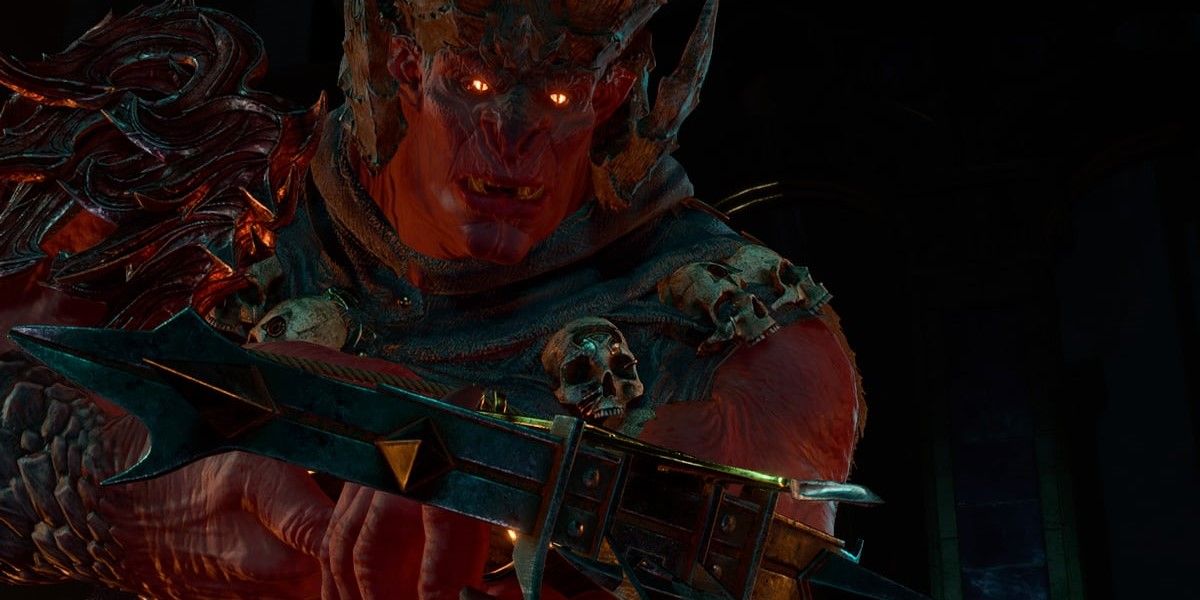
The most straightforward solution to the quest Kill Raphael’s Old Enemy is to fight the Orthon Yurgir, the Merregons, and the Displacer Beast. The fight is difficult, but knowing Yurgir’s tricks will make the fight easier.
Yurgir’s greatest advantage is his tendency to turn invisible, making him hard to hit unless he has been revealed. Yurgir also will throw bombs with Volatile Cluster or Orthonic Handbombs, both of which can bump your party around and deal damage.
The Displacer Beast will make Illusory Copies that deal very real damage, so taking out the main Displacer Beast is essential. It can teleport, which makes it as frustrating to fight as Yurgir. The Merregons are largely rather standard enemies, but they have a tendency to shove characters off the ledge if they’re on the high ground.
|
Stat Category |
Yurgir |
Displacer Beast |
Merregons |
|
Strength |
22 |
18 |
18 |
|
Dexterity |
16 |
15 |
12 |
|
Constitution |
21 |
16 |
17 |
|
Intelligence |
15 |
6 |
6 |
|
Wisdom |
15 |
12 |
12 |
|
Charisma |
16 |
8 |
8 |
|
Proficiency Bonus |
N/A |
N/A |
+2 |
|
Initiative |
+8 |
+2 |
+1 |
|
HP |
105 |
85 |
32 |
|
AC |
17 |
16 |
16 |
|
Enemy Type |
Fiend |
Beast |
Fiend |
|
Resistances |
Non-magical slashing, piercing, bludgeoning Cold resistance Fire, poison immunity |
None |
Slashing, piercing, bludgeoning, fire, cold, poison |
|
Abilities |
Alert Darkvision Devil’s Sight Extra attack Magic resistance Attack of Opportunity |
Illusory Copy |
Attack of Opportunity Devil’s Sight Extra attack Magic resistance Crossbow shot Arrow of Roaring Thunder |
|
Loot |
Infernal metal Hellfire Hand Crossbow |
N/A |
Metallic Mask Halberd |
To dispatch Yurgir and his lackeys effectively, it’s a good idea to use AoE spells or attacks to reveal him. The Faerie Fire spell is effective, or you could throw a grease bottle to splash him.
If Yurgir is receiving damage, he cannot turn invisible. His Volatile Cluster action will set several timed explosives on the ground, which take a turn to detonate. Concussive Blast will harm your party and push them away. Yurgir can also throw Orthonic Handbombs to deal a lot of damage in an area. The key here is to keep Yurgir revealed by dealing constant damage with effects like Bleeding to make him easier to fight, and stay away from ledges to prevent being shoved off by Merregons.
Rewards For Winning The Battle
- Boots of Brilliance (found in a chest north of the fight area)
- Hellfire Hand Crossbow (Very Rare weapon)
- Infernal Iron (necessary for Karlach)
- Umbral Gem (required to complete the Gauntlet of Shar)
Help Yurgir
Helping Yurgir means finding the last Justiciar in the area and defeating them. It’s a good idea to have Speak With Animals, either from a potion or spell, but it isn’t necessary. Find the Faith-Leap trial and the rats nearby. You can either talk to the rats or attack them. Head to the Silent Library and climb down the Cragged Rocks until you reach the bottom below the giant Shar statue. You must defeat all of the rats, which is not as easy as it seems despite their low health. Their power in numbers can deal plenty of damage, and some rats may cause Sleep or Necrotic damage. Some of them explode upon death, dealing damage to nearby enemies.
Spirit Guardians and other AoE spells and attacks can be very useful for dealing with the large number of enemies here.
Enemy Statistics for the Rats and Lyrthindor
|
Stat Category |
Rats |
Lyrthindor |
|
Strength |
2 |
18 |
|
Dexterity |
11 |
12 |
|
Constitution |
9 |
12 |
|
Intelligence |
2 |
10 |
|
Wisdom |
10 |
18 |
|
Charisma |
4 |
10 |
|
Proficiency Bonus |
0 |
0 |
|
Initiative |
+0 |
+1 |
|
HP |
1 |
78 |
|
AC |
10 |
16 |
|
Enemy Type |
Beast |
Humanoid |
|
Resistances |
None |
None |
|
Abilities |
Darkvision Soporific Rats – Narcoleptic Toxins Necrotic Rats – Necrotic Bite |
Darkvision Opportunity Attack Shar’s Sight |
|
Loot |
None |
Justiciar’s Scimitar Justiciar’s Greatsword |
Once the rats are defeated, Lyrthindor will appear and you must defeat them to complete the quest Break Yurgir’s Contract. Return to Yurgir to finish the quest. Note that you will not be able to receive the Infernal Iron you would be able to get if you had killed him. You will, however, receive rewards for killing Lyrthindor:
- Justiciar’s Scimitar (Very Rare weapon)
- Justiciar’s Greatsword (Rare weapon)
Exploit Yurgir’s Contract Loophole
If you are not a Warlock, you can listen to Yurgir’s Contract. You must succeed an Insight check while doing so. With a series of Persuasion checks, you can tell Yurgir the lyrics are a trick. The following checks must be passed to be successful:
|
Check Type |
DC |
Result |
|
Persuasion |
16 |
Merregons disappear |
|
Persuasion |
21 |
Displacer Beast disappears |
|
Persuasion |
21 |
Yurgir dies |
Failing even one of the checks makes the ensuing fight much easier, but you don’t get the experience you would have received if you killed the Merregons and Displacer Beast yourself.
Finishing the Quest
If you killed Yurgir, long rest at your camp to trigger Raphael’s arrival. Otherwise, he will appear in Baldur’s Gate later in the game. This can proceed with The Pale Elf questline if you agreed to help Astarion. If you did not kill Yurgir, Astarion will be unhappy, but Yurgir will let you take anything from his lair. This includes the all-important Umbral Gem.
Denial of responsibility! TechCodex is an automatic aggregator of the all world’s media. In each content, the hyperlink to the primary source is specified. All trademarks belong to their rightful owners, and all materials to their authors. For any complaint, please reach us at – [email protected]. We will take necessary action within 24 hours.

Eugen Boglaru is an AI aficionado covering the fascinating and rapidly advancing field of Artificial Intelligence. From machine learning breakthroughs to ethical considerations, Eugen provides readers with a deep dive into the world of AI, demystifying complex concepts and exploring the transformative impact of intelligent technologies.


