Key Takeaways
- You can transfer movies, TV episodes, and other videos you own to Meta Quest headsets.
- Copying files to your Quest headset is easy, except on Mac, where you need to install Android File Transfer.
- While the built-in Files app and Quest TV offer video playback options, third-party apps like Skybox VR Player provide additional features for a better viewing experience.
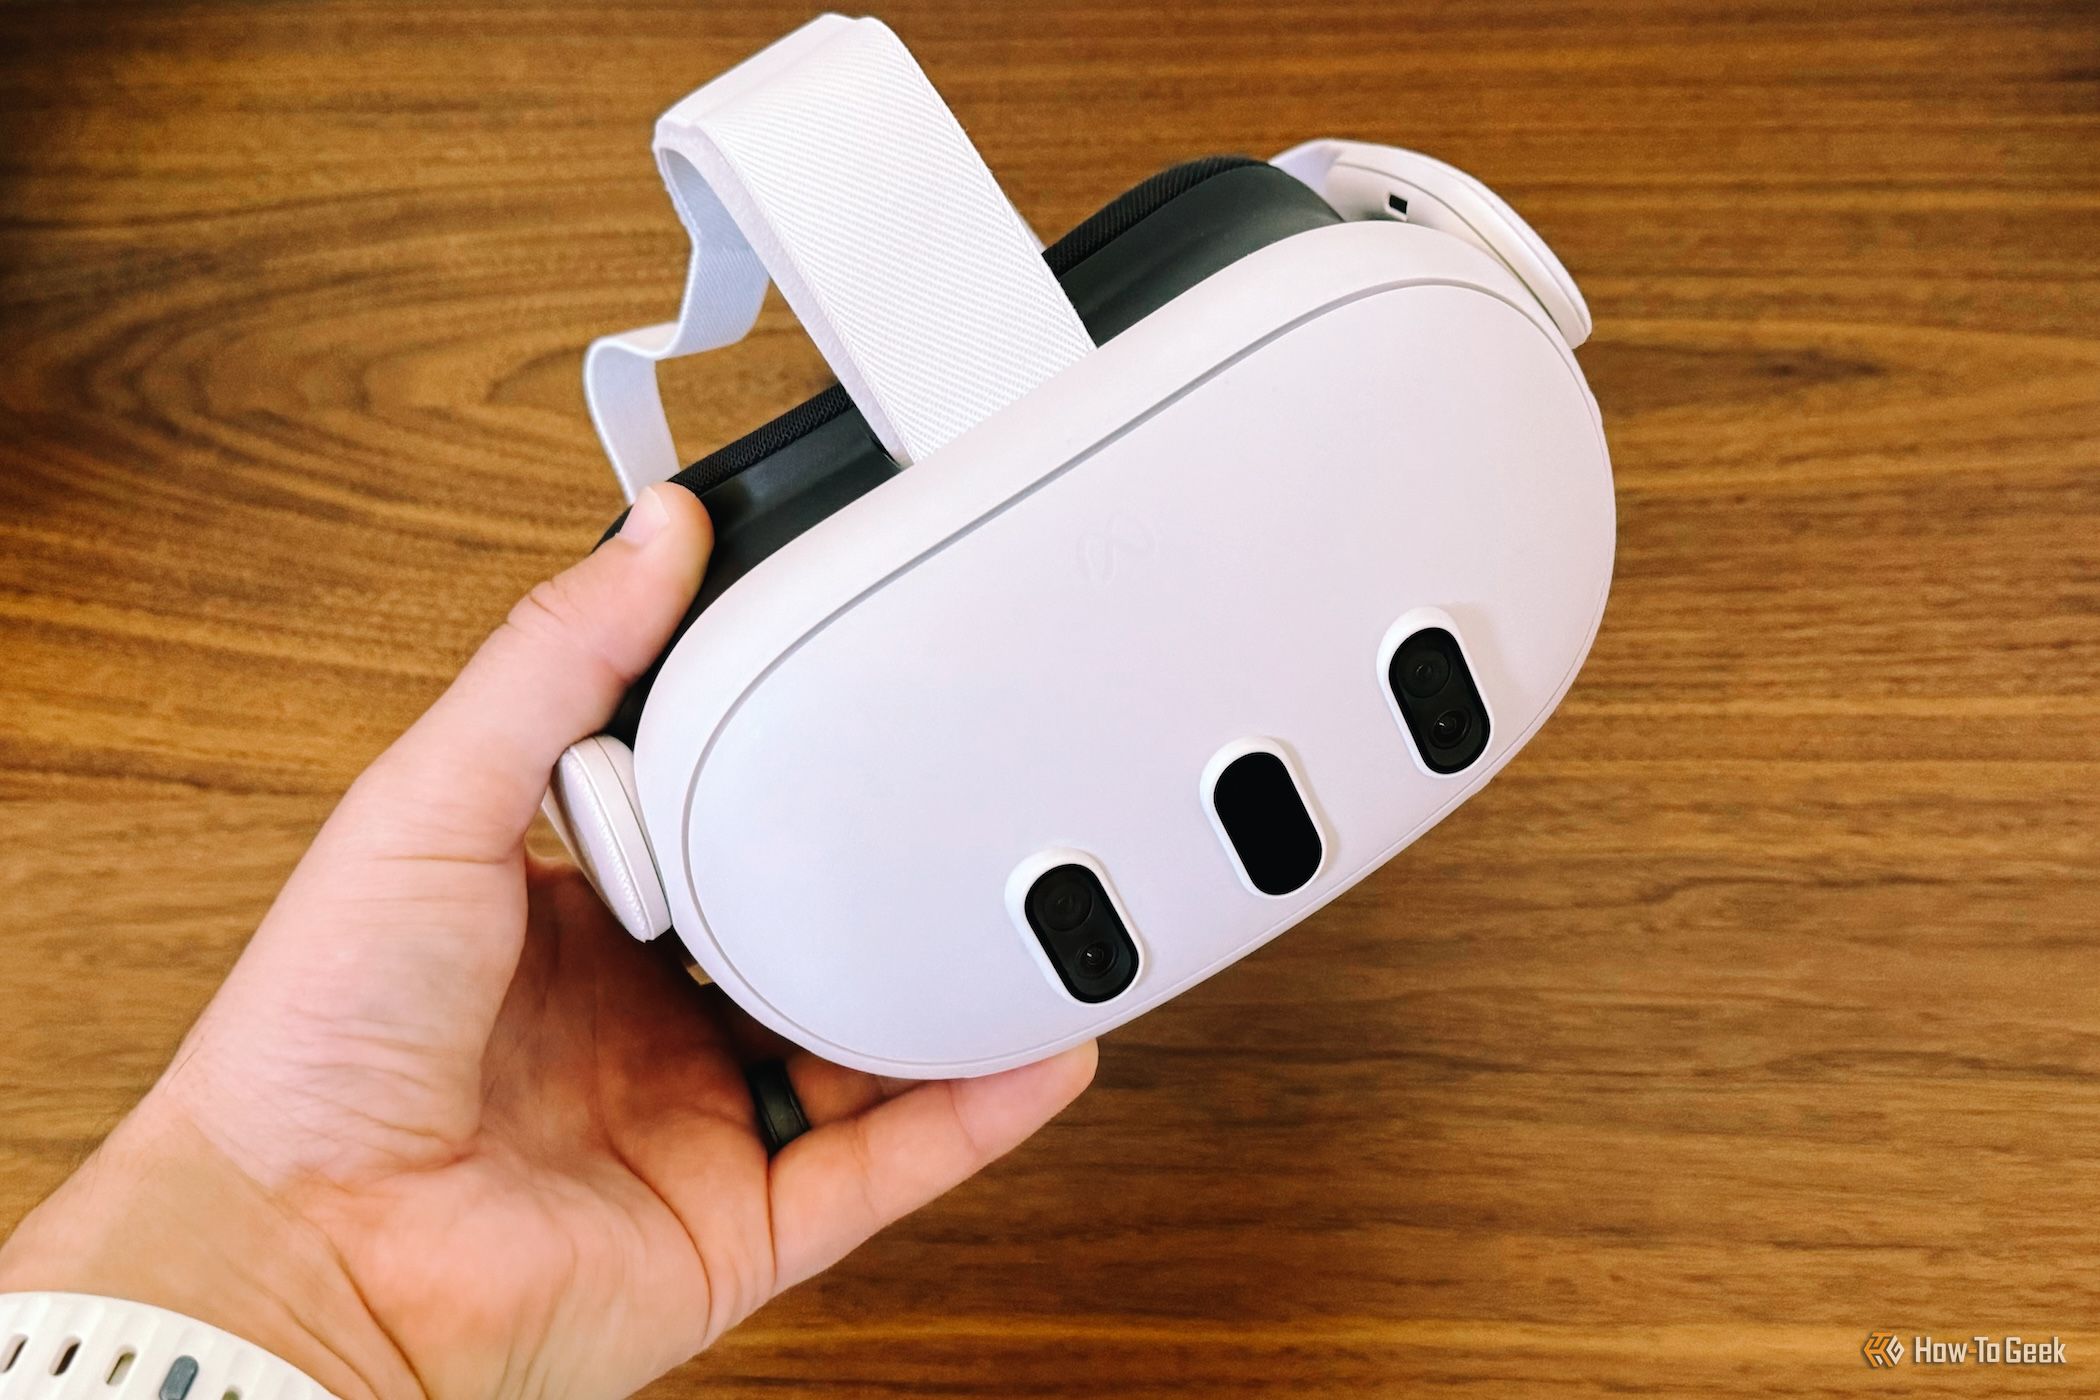
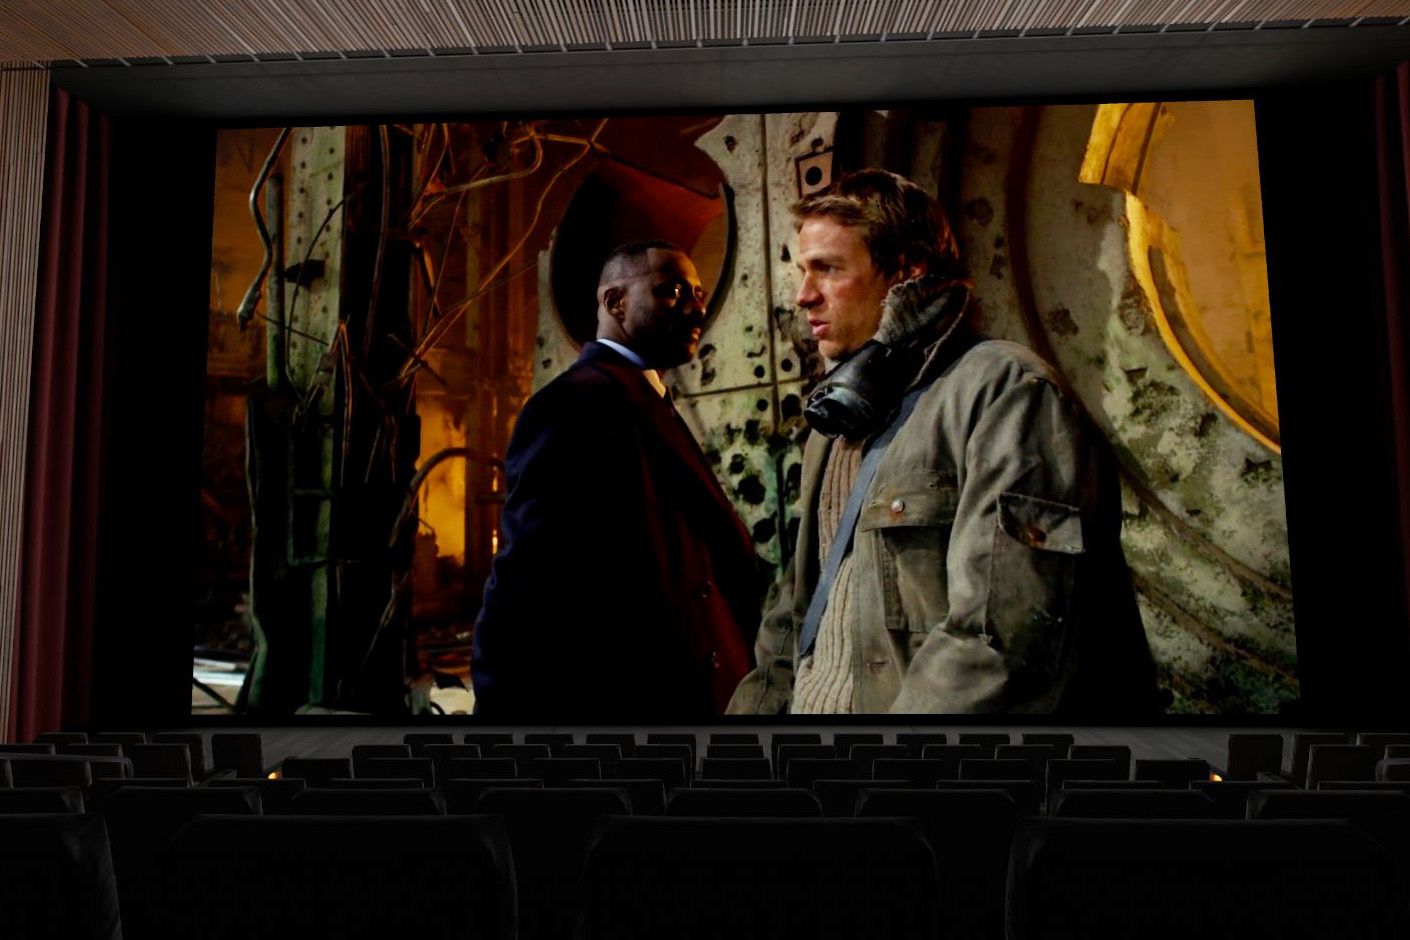
Virtual reality headsets can be a great way to watch movies, TV shows, and other videos on a large screen from anywhere. Meta Quest headsets can store and play video files from local storage, but there are a few different playback options, and the copy process can be tedious.
It’s worth noting that you aren’t entirely limited to your own media collection. There are official apps for YouTube, Netflix, Amazon Prime Video, Peacock, and Pluto TV. However, the YouTube app can’t play purchased content at a high resolution, and the other apps have infrequent bugs. They also require an internet connection for streaming, so they won’t work for watching movies in planes, cars, or other places without Wi-Fi. You can also use most streaming services in the web browser, but the lack of DRM support in the Meta Quest browser will limit the resolution for most paid content.
Meta’s documentation says that M4V, MOV, MP4, and MPG video files are supported on Quest headsets, but those files are just containers for any number of different video and audio codecs. That list is also incomplete, as we were also able to open MKV and WebM container files on a Quest 3 headset.
The below list is based on Meta’s documentation and our own testing on a Meta Quest 3 headset with Quest system software v63. The test files were encoded using HandBrake on a 24 FPS movie trailer in MP4 and MKV containers.
Supported file formats: M4V, MOV, MP4, MPG, WebM, MKV
Supported video codecs: MPEG-4, H.265, VP9, VP8
Supported audio codecs: AAC, AAC (10-bit), AC3, MP3, Opus, Vorbis
There might be more uncommon video and audio codecs that are supported, but that covers most video formats in use today. The compatibility list with third-party video players like Skybox VR can also be different. For example, we tested a file with the older MPEG-2 video codec, and it worked in Skybox but not in the Quest’s own player. Meta also recently added support for spatial videos captured from an iPhone 15 Pro or Pro Max.
How to Copy Files to Your Quest Headset
Quest headsets use the same MTP file transfer technology as modern Android phones and tablets, so it works out-of-the-box with Windows PCs and most desktop Linux distributions. Mac computers need to install Google’s Android File Transfer tool, because macOS does not have built-in MTP support.
First, connect your Quest headset to your computer with a USB cable. You should see a notification on your Quest about a connected USB device—if not, your USB cable might not support data transfer, and you need to find another cable.
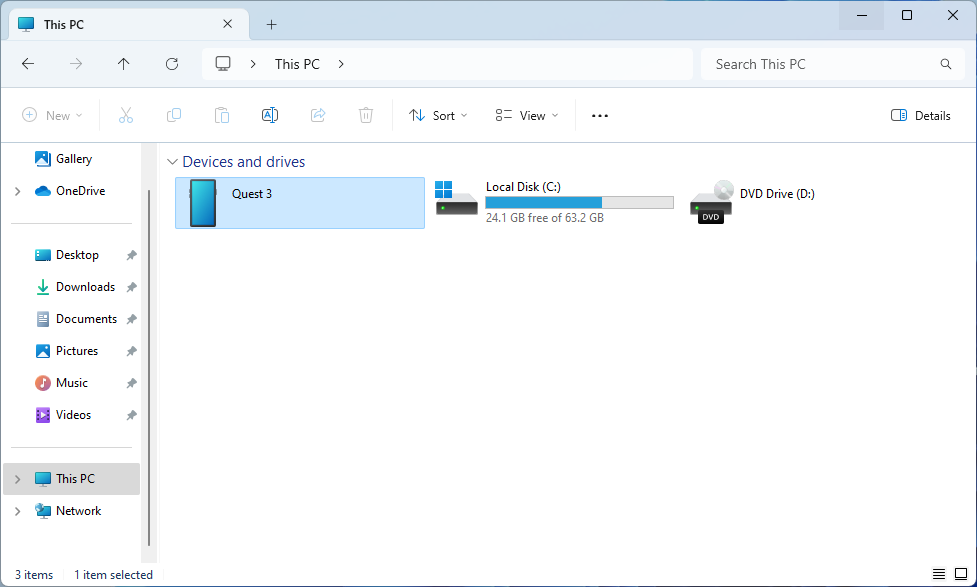
Click the notification to allow the USB connection, and then you can copy files as if it was any other folder on your computer. The Quest appears as a connected device under “This PC” in Windows Explorer, and on Linux systems, it should be listed alongside drives and other connected hardware.
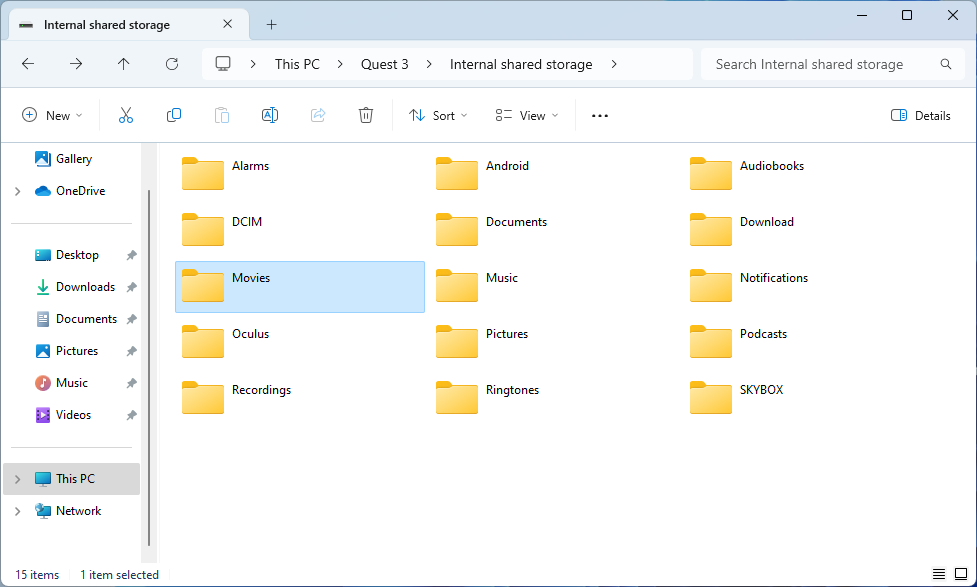
You can copy your movie files to any folder you want on the Quest, but it’s probably best to use the default “Movies” folder to keep everything organized. You can also move any other files around. For example, you can copy screenshots and videos to your computer by copying them from the “Oculus” folder.
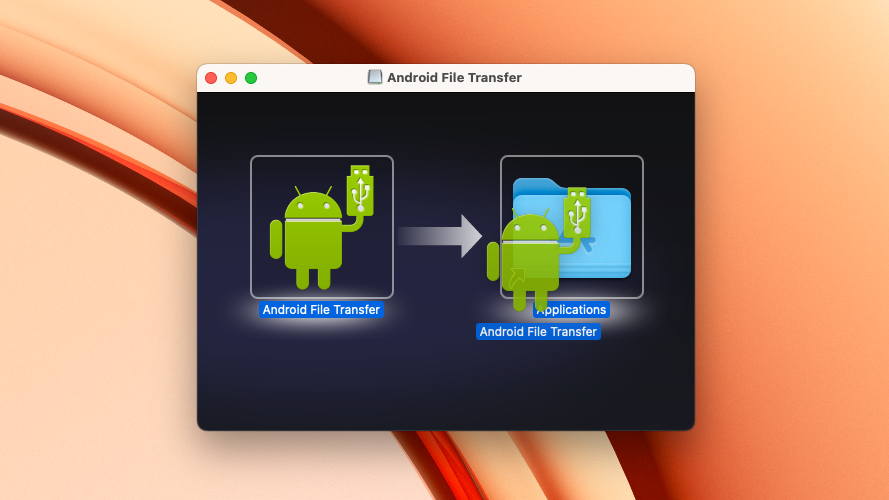
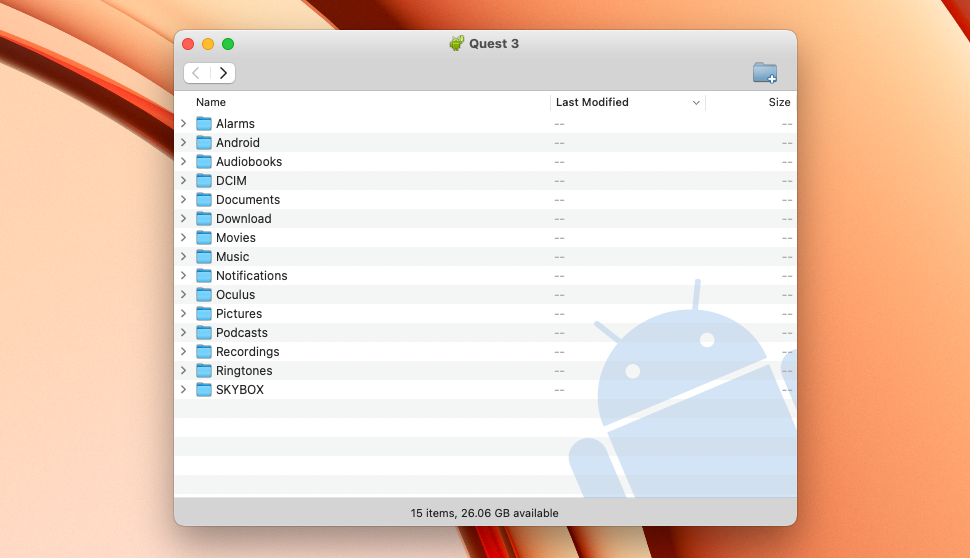
Unfortunately, macOS doesn’t support MTP, so you need to use Google’s Android File Transfer application to copy files. First, download Android File Transfer from the Android website. Then, open the downloaded DMG file, and drag the app to your Applications folder as prompted.
Finally, open the app from the Applications folder (or Spotlight search, or the Launchpad) with your Quest connected, and the files window should open. If it doesn’t work, it’s probably not your fault—the Android File Transfer app on Mac is notoriously buggy. You can try reconnecting the USB cable, or rebooting your Quest headset and Mac.
The Android File Transfer application shows you a list of files and folders, and you can drag files between Finder and the File Transfer app as needed. When you’re done, just disconnect the Quest headset, as there’s no eject command like typical external drives. The app should also automatically open when you connect the Quest again in the future.
Pick a Video Player
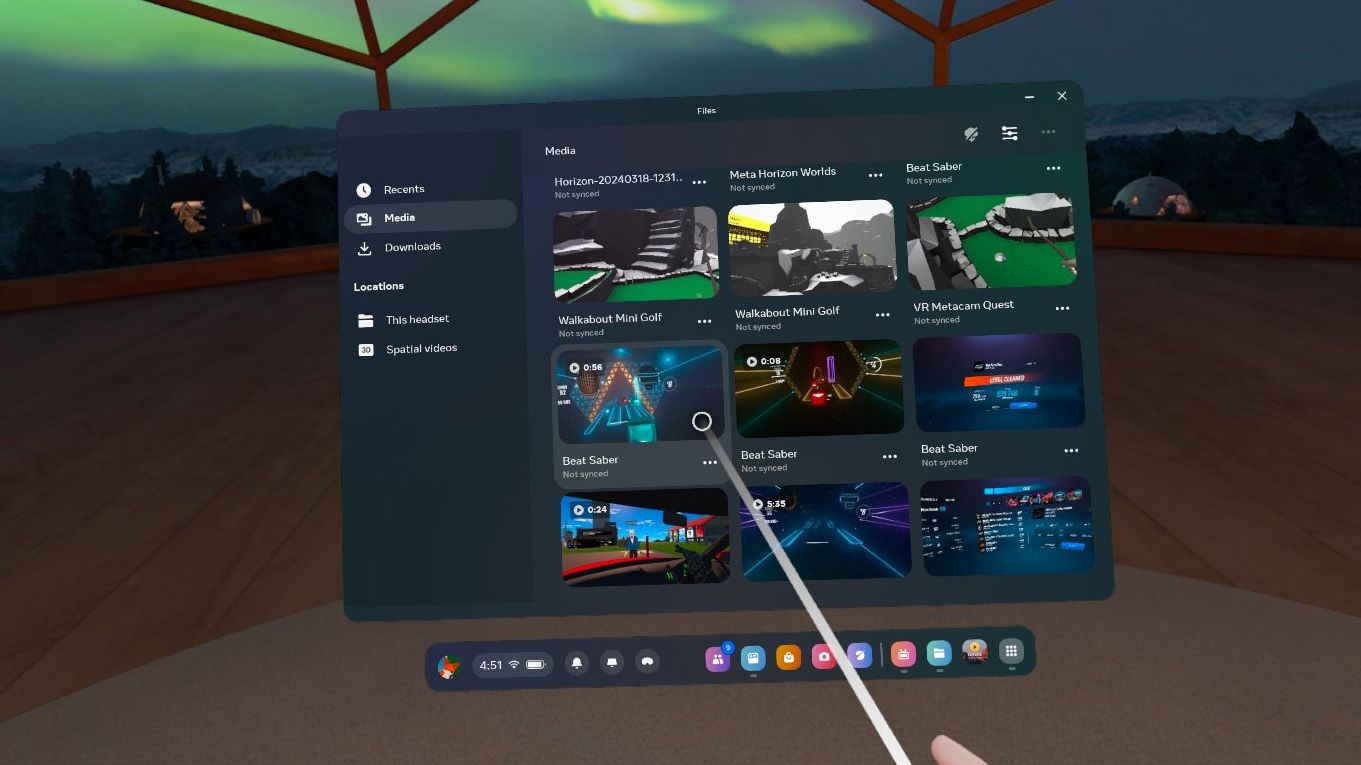
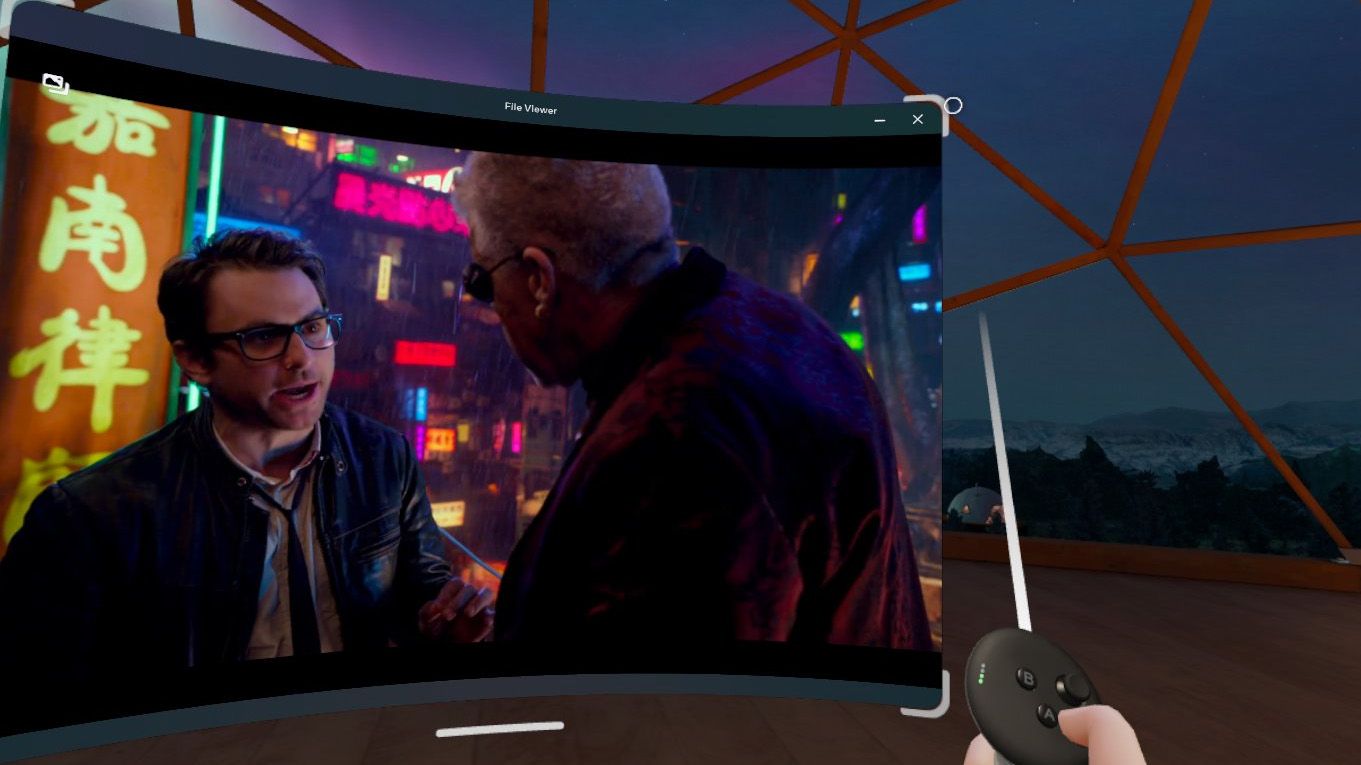
Finally, with your movies or other video files ready, it’s time to watch them. There are two ways to open a local video file on Meta Quest headsets. The first open is with the Files app, which allows you to browse all files on your headset. The videos will open in a new media player window with basic media controls, and a button to switch between different 3D viewing options.
You can resize the window by switching to the larger window view (click the “Switch distance” button in the main Meta toolbar) and dragging the corners of the window outward. When you’re done watching the video, just click the close button at the top.
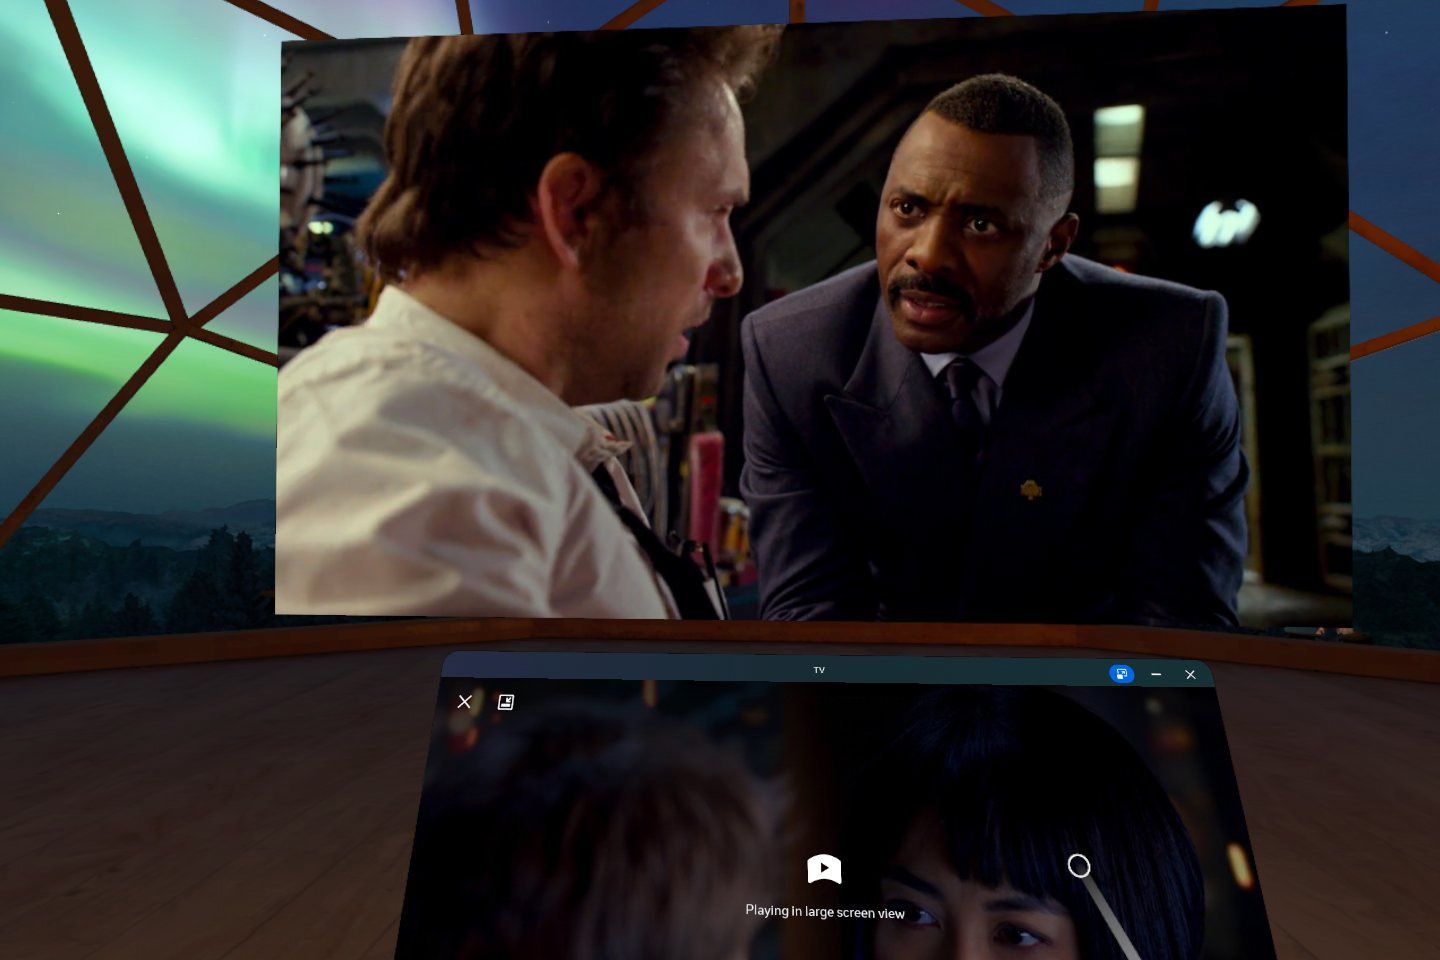
The other built-in option is Meta Quest TV, which is primarily made to watch online videos, but works well for local playback as well. Find the Quest TV app in your app list, open it, and click the “Your Media” tab at the bottom. You’ll see a list of all your local video files, and you can tap one to start playing.
The Quest TV app remembers your position when playing a file, so it’s better for playing longer movies than the Files app. It also has a large screen view, which places the video in a hovering projection in your home environment. In the large screen view, clicking the Meta button on your controller will show and hide the main window, leaving only the video visible. You can click the minimize/maximize button at the top-right of the TV window to switch modes.
There are also a few third-party video player applications that can provide a better experience. Skybox VR Player is one of the best options, with different theater environments, support for USB devices and UPnP/DLNA servers, and other playback options.
Skybox VR is a paid application ($9.99 as of the time of writing), but it’s probably worth the money if you end up watching videos on your Quest on a regular basis.

Maria Malik is your guide to the immersive world of Virtual Reality (VR). With a passion for VR technology, she explores the latest VR headsets, applications, and experiences, providing readers with in-depth reviews, industry insights, and a glimpse into the future of virtual experiences.

