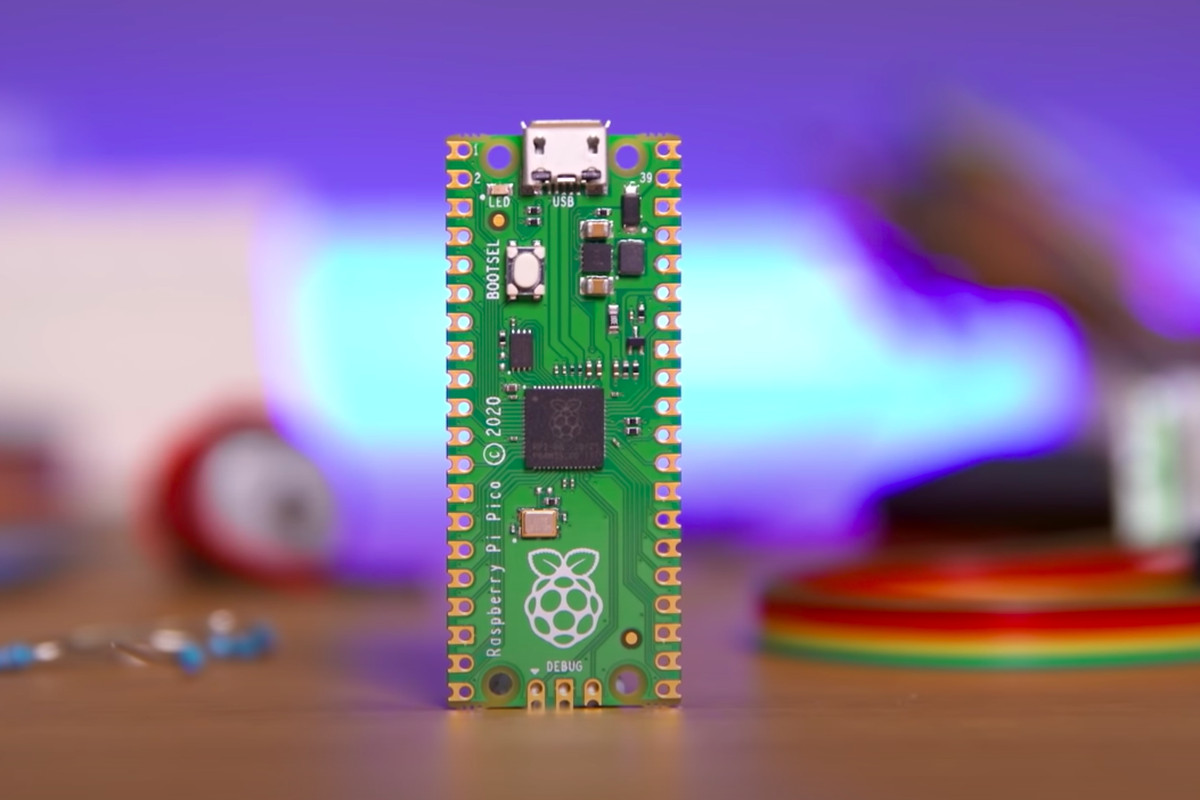
The latest edition to the Raspberry Pi group is the Raspberry Pi Pico – a microcontroller unit. Here are 5 exciting projects you can try with it!
1. Create your own weather station
You can build your own weather station that can display both temperature and humidity.
Essentially, the idea is that a pressure sensor collects environmental readings with the microcontroller and then uploads the data to a local server so you can gain easy access. The full tutorial for beginners is available online, but for a simplified version, keep reading.
The simplest way to get your weather station running is to download a weather station UF2 file and then disconnect your Pico board from your Raspberry Pi.
All you have to do now is hold down the BOOTSEL button whilst connecting both of your technologies together and drop the weather station file into the removable media pop-up.
2. A line following robot car
Although this project can take a lot of time and patience to complete, the basics of it can be accomplished without too much trouble.
Again, you can find detailed YouTube tutorials online that demonstrate the creation of a competitive robot, and show in detail how the infrared receivers actually work to ensure that the robot always follows the lines!
3. FM radio station
If you are looking for a bit more of a challenge, how about building and testing your very own Raspberry Pi FM transmitter? Make sure that you buy all of your parts from a reputable dealer or reseller such as The Pi Hut to ensure that your FM transmitter is accurate, effective, and built to last.
Once you’ve launched the program and received the ‘playing message,’ you can attach an antenna to the GPIO pin 4 of the Pi.
Now, all you’ve got to do is get an FM radio and tune it into 100MHz and you should be able to hear your choice of broadcasted music or sound.
4. Create your own game server (for Minecraft)
Firstly, install Raspberry Pi OS and configure your Pi. Take note of your IP address.
Secondly, install the Minecraft server on Raspberry Pi. (Ensure Java is installed first.)
When that’s complete, it’s time to configure your Minecraft Raspberry Pi Server. There are several properties such as maximum players and difficulty settings that can be edited here. Again, you can find a more in-depth tutorial for this project online.
Finally, it’s time to connect to the Raspberry Pi Minecraft server. Simply launch the game, click on players, servers and then ‘add server’. Input the IP address you noted down at the beginning and then you’re good to go.
5. Speech recognition with a Raspberry Pi Pico
You’ll need to install a ‘Spchcat’ package in order for this to work.
Once you’ve got the package, run the ‘spchcat’ command, speak into the microphone and your speech should begin to appear as text.
Taking this one step further, you could try running speech recognition on a file. To run files, type the name of the file as if it were a command and listen up!
And there you have it – 5 exciting things you can do with a Raspberry Pi Pico, suitable for beginners and experts alike.

Talha Ali is your tech generalist, covering a wide spectrum of topics within the ever-evolving world of technology. With a curiosity for the latest innovations, industry trends, and breakthroughs. Whether it’s hardware, software, emerging technologies, or the intersection of tech with daily life, Talha’s articles provide readers with a well-rounded perspective on the dynamic landscape of the tech industry.

