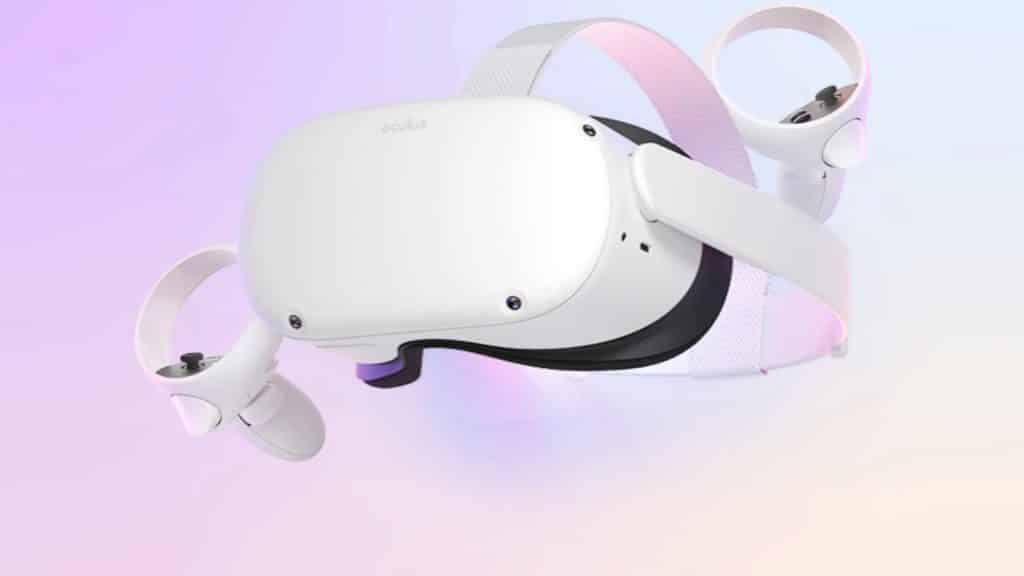
Wondering how to reset your Meta Quest headset back to its original settings? Don’t worry, here’s a useful guide that helps you through the process.
The Meta Quest series of headsets has been hugely successful, with the Quest 2 and 3 becoming some of the most popular pieces of VR hardware on the market. Much of the appeal lies in it being a standalone device that doesn’t need a powerful PC, as well as its lower price compared to other VR and mixed reality headsets like the Apple Vision Pro.
Article continues after ad
Many tech devices can start to feel a little slower after an extended period of use. This can mostly be attributed to storage issues, where the Quest internal storage becomes filled with games and apps. In many cases, this can be resolved by deleting unused games and software, but this will still leave some traces behind, which are still taking up valuable storage space.
One way of resolving this problem involves performing a factory reset on your Quest headset, as this will free up space and ensure everything is working crisply and cleanly.
Article continues after ad
It is best practice before engaging in this process to ensure all your data is safely backed up elsewhere. In addition, if you are thinking of trading in your Quest 2 for a shiny new Quest 3, it is a good idea to factory reset the device before you sell it.
How to factory reset the Quest 2 & 3 via the headset
 Meta
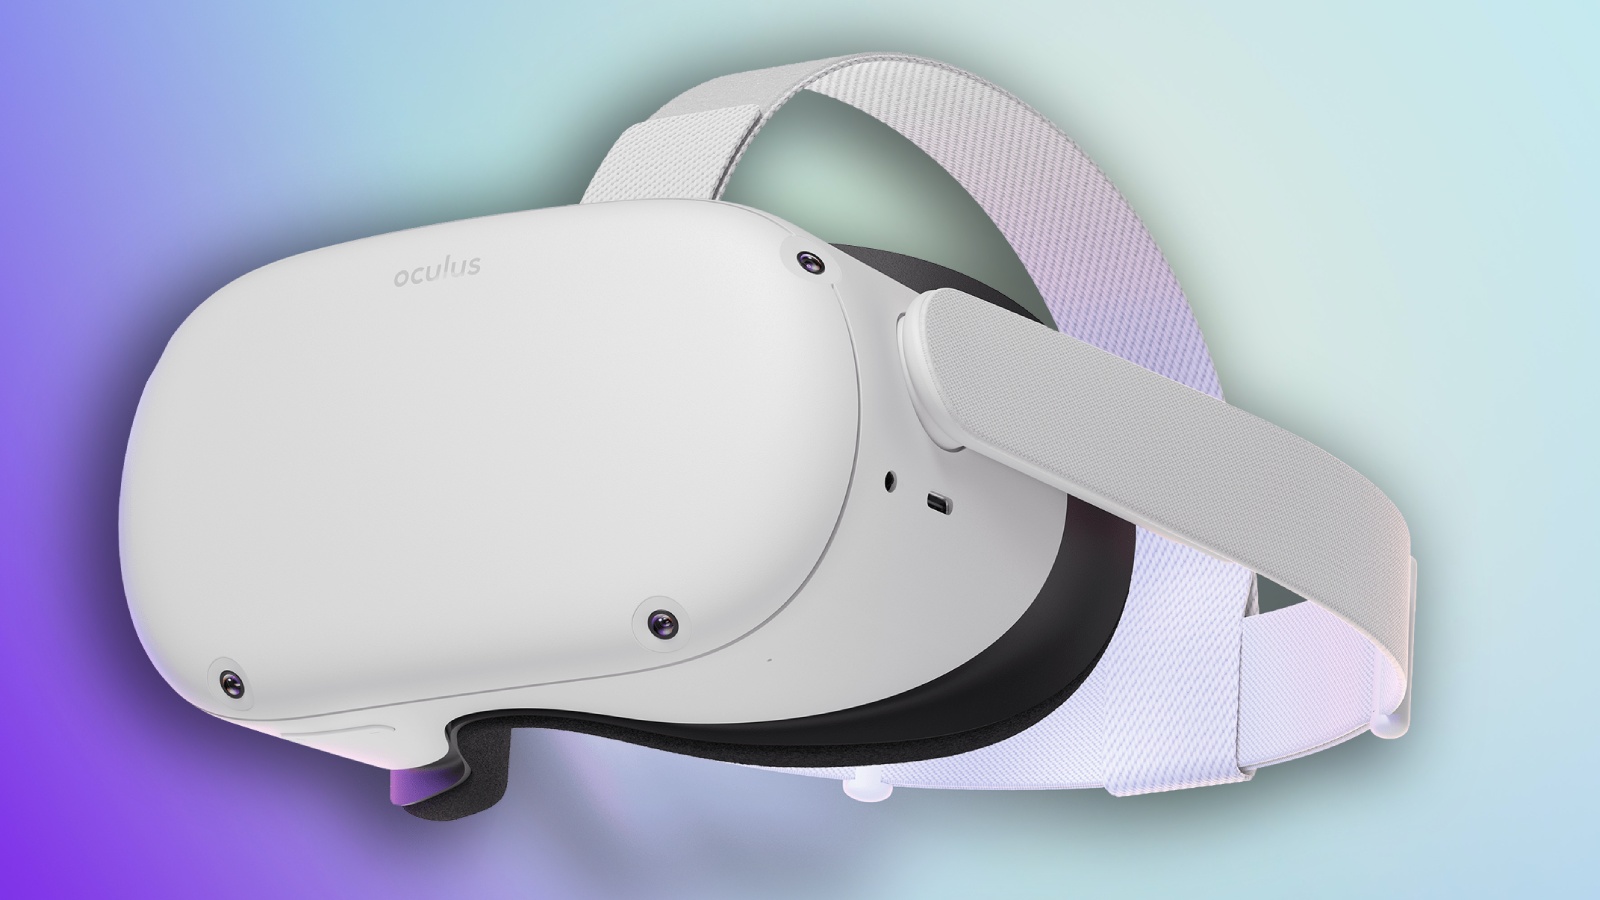
MetaOriginally named the Oculus Quest, the current headsets are now known as the Meta Quest.
The easiest way of getting your Quest 2 back to its factory settings is to do it on the humble VR headset itself. We’ve gone through the trouble of doing everything, so you can follow these steps.
Article continues after ad
1. Turn off the Quest
Firstly, you will want to completely turn off your Quest 2. This can be done by holding the button, located on the side of your headset down for two seconds before releasing it. Once the VR headset is completely turned off, you’re safe to move on to the next step, which is a little bit trickier.
Subscribe to our newsletter for the latest updates on Esports, Gaming and more.
To enter the boot menu of the Quest, all you need to do is hold down the power and volume down buttons at the same time. This should present you with several options. If the headset boots as normal, switch it off and try again.
Article continues after ad
From this menu, choose the “Factory Reset” option. Navigate the menu by using the volume buttons, and then pressing the power button to confirm your highlighted selection. Once selected, confirm that you wish to factory reset your headset by highlighting “Yes” and pressing the power button to confirm.
This should begin the process of resetting your headset to make it factory-fresh once more.
How to factory reset the Quest 2 & 3 via iOS & Android
You can also reset your Quest remotely by using the Oculus app on iOS or Android. Firstly, you’ll want to head to the “settings” menu on the app. There, ensure that your Quest 2 or 3 is connected and select it. Once you’re there, go to “more settings” and select “Factory Reset”.
Article continues after ad
This requires you to pair your headset with the app ahead of time, so it’s not foolproof. Because of this, you might find it easier to just reset the hardware on the headset itself.
Also, make sure to check out our other guides:
The best PS5 controllers | The best mobile games to play in 2023 | Best gaming keyboards | Best CPU for gaming | Best PC controller | Best budget gaming desk | Best power bank for steam deck | Best 1440p Monitor for PS5 | Best gamecube controller for Switch and PC
Article continues after ad

Maria Malik is your guide to the immersive world of Virtual Reality (VR). With a passion for VR technology, she explores the latest VR headsets, applications, and experiences, providing readers with in-depth reviews, industry insights, and a glimpse into the future of virtual experiences.


