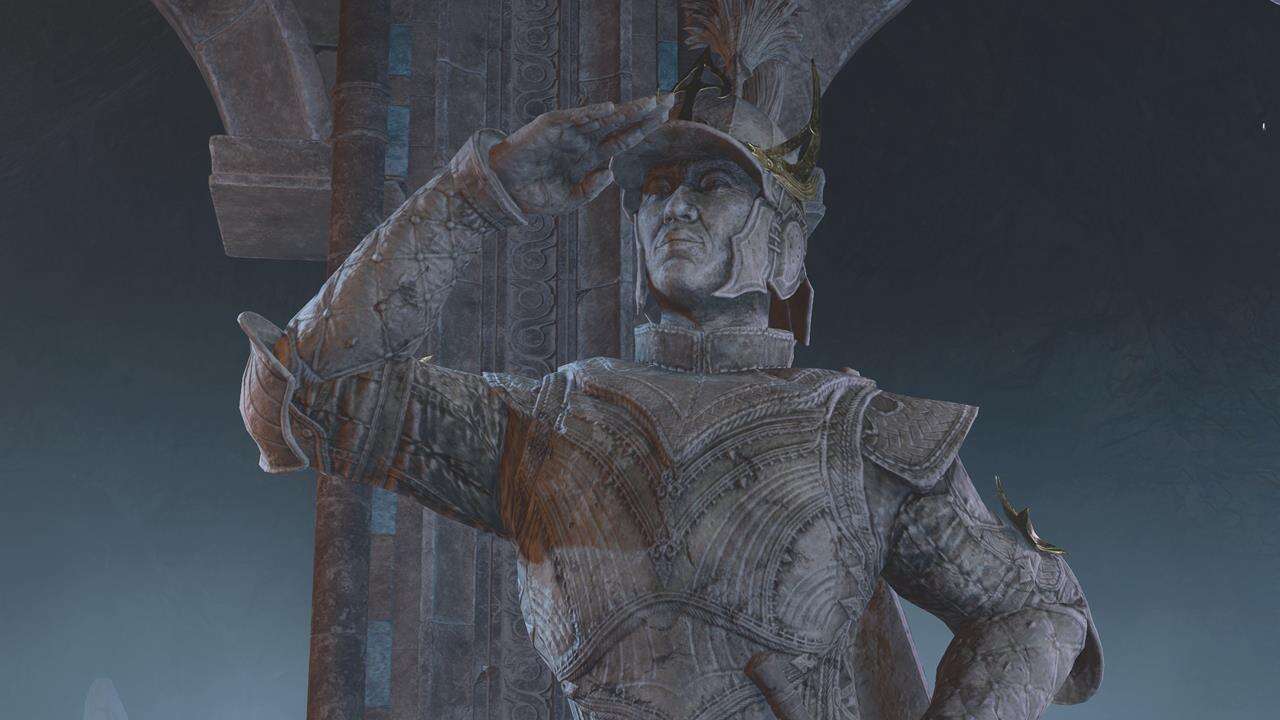
Deep within the bustling city of Baldur’s Gate 3 lies a timeless creature that has dedicated its existence to safeguarding the realm. Now, the responsibility falls upon you to seek out this creature and request its assistance. In our comprehensive guide, we will explore the Baldur’s Gate 3 Wyrmway Puzzles and the Legend of Ansur, an intriguing secret storyline with its own unique set of requirements. It is important to note that this article contains spoilers.
How to Successfully Complete the Legend of Ansur and Wyrmway Puzzles in Baldur’s Gate 3
The Baldur’s Gate 3 Legend of Ansur and Wyrmway Puzzles represent the culmination of Wyll’s companion quest: Blade of Frontiers. Here is a breakdown of what we accomplished in our campaign:
1. During Act 1, we successfully rescued the Tieflings in the Druid Grove. However, siding with Minthara and the Goblins led to Wyll leaving the party permanently.
2. In Act 2, we saved Zariel’s Asset (Mizora) from the Mind Flayer Colony. Failing to save her would result in Wyll being trapped in the treacherous fires of Avernus.
3. Act 3 presented us with Mizora’s proposition, and we made the decision to rescue Duke Ravengard from the Iron Throne prison.
In summary, it is crucial for Wyll and Mizora to survive, and you must ensure the safety of Wyll’s father, Duke Ravengard. Duke Ravengard will provide you with vital information about the dragon, Ansur, and even entrust you with a valuable book.
Decoding the Legend of Ansur Book Puzzle
Upon reading the Baldur’s Gate 3 Legend of Ansur book, you will discover that the entrance to the Wyrmway lies within Wyrm’s Rock Prison. The accompanying riddle offers a clue: “With a lightning shock, a true hero’s spark flickers. The torches alight! And wyrm’s eyes shall awake aglitter!”
However, be prepared for Gortash, who is now aware of your plans. Multiple Flaming Fist soldiers will defend the fortress. Your objective is to reach the prison through the large room with the waypoint. Within this room, you will find a staircase leading to the lower section.
Proceed to the left to locate a dead end adorned with two lanterns shaped like a dragon’s head. Cast lightning spells on both lanterns simultaneously, ensuring that both emit blue flames. This will unveil a hidden passageway.
Gallery: Use a lightning spell to ignite the dragon head lanterns.
Navigating the Wyrmway Puzzles and Trials
You have finally arrived at the Baldur’s Gate 3 Wyrmway dungeon, which presents a series of trials for you to overcome. We have organized them based on the left-hand section to the right. Failing to solve a puzzle correctly will result in a battle against an army of undead enemies.
Chamber of Justice:
In the center, you will encounter a shadowy figure, surrounded by paintings that depict the story of a man caught stealing an apple. Your task is to pass a sentence proportional to the crime.
Solution: Cast the “Remove Curse” spell on the paintings shrouded in shadows. Select “The Cell” and move it to your inventory. Proceed to place it on the empty plinth.
Chamber of Insight:
Adjacent to this chamber, you will find three shades of advisors. Beyond them, three books flutter about. Your objective is to eliminate the advisor who would bring ruin upon the city.
Solution: Activate turn-based mode by clicking on the hourglass button on your action bar. Cast “Hold Monster” or a similar spell on the flying books. The books will drop to the ground, allowing you to peruse their contents. One of the advisors harbors a darker and more sinister outlook, advocating for the destruction of defeated peoples. In our playthrough, we eliminated Suelto (shade on the left), but the correct choice may differ for your game.
Gallery: Left: Chamber of Justice; Right: Chamber of Insight.
Chamber of Strategy:
This area presents the Baldur’s Gate 3 chess puzzle, which may initially seem challenging. Your ultimate goal is to achieve victory by destroying the black king’s piece within three moves. During our initial attempts, we encountered difficulties due to our failure to properly position our pieces. To rectify this, we should have tested turn-based mode.
Solution: The easiest solution is to cast a lightning spell directly onto the black king piece. This will instantly obliterate it, allowing you to progress.
Chamber of Courage:
This segment does not involve a puzzle but rather a combat encounter. Your objective is to survive four rounds against a horde of elementals and myrmidons. Utilize spells such as “Thunderwave” to push enemies off the cliffside.
Gallery: Left: Chamber of Strategy; Right: Chamber of Courage.
Defeating Ansur
After successfully navigating the four Wyrmway puzzles in Baldur’s Gate 3, it is time to enter the main chamber. Here, you will bear witness to the decaying remains of the dragon, Ansur. A cutscene will precede and follow the ensuing battle. To avoid divulging significant plot details, we will refrain from providing further information.
However, here are some key strategies to defeat the Baldur’s Gate 3 Ansur dragon boss:
1. Ungroup your party members and position them individually. Failure to do so will result in Ansur’s melee attack hitting multiple characters after the cutscene ends. Additionally, myrmidons will appear and cast spells to inflict damage on your units.
2. Ansur possesses the Hoarding Energy effect, wherein it charges up electricity before unleashing a devastating blast that engulfs the entire arena. The high damage output can prove fatal to characters with less than 50 HP if adequate protection is not provided.
3. To mitigate Ansur’s magic blast, it is advisable to have Gale or any character equipped with the Globe of Invulnerability spell. Position the barrier strategically and gather your team within its protective aura to withstand the attack.
4. Once Ansur has completed casting, continue your assault. However, remain vigilant and avoid the blue circles on the ground, as these areas are struck by lightning.
5. Stay within the Globe of Invulnerability to minimize the overwhelming damage caused by Ansur’s magical blast.
Legendary Rewards
Upon vanquishing Ansur and witnessing a revealing cutscene, you will successfully fulfill the Baldur’s Gate 3 Wyrmway and Legend of Ansur objectives. As a reward, you will obtain a pair of legendary items that will enhance your characters:
1. Balduran’s Giantslayer – Deals 6-19 slashing damage; doubles damage from your Strength modifier upon hit; gain advantage on attack rolls against large, huge, and gargantuan creatures; contains +3 weapon enchantment.
2. Helm of Balduran – Restores 2 HP at the beginning of each turn; grants a +1 bonus to AC and saving throws; renders the character immune to stunning; prevents attackers from landing critical hits on the wearer.
With these extraordinary items in your possession, you are now ready to forge ahead and conquer the remaining challenges within the third act. Furthermore, this marks the conclusion of Wyll’s Blade of Frontiers companion quest, allowing you to determine his fate as the new Grand Duke of Baldur’s Gate or embark on a different path entirely.
Baldur’s Gate 3 offers a plethora of activities and hidden secrets that guarantee countless hours of adventure. For additional tips and guidance, we invite you to visit our BG3 guides hub. Please note that the products mentioned in this article were independently chosen by our editors. Should you choose to make a purchase, GameSpot may receive a portion of the revenue.
Denial of responsibility! TechCodex is an automatic aggregator of the all world’s media. In each content, the hyperlink to the primary source is specified. All trademarks belong to their rightful owners, and all materials to their authors. For any complaint, please reach us at – [email protected]. We will take necessary action within 24 hours.

Eugen Boglaru is an AI aficionado covering the fascinating and rapidly advancing field of Artificial Intelligence. From machine learning breakthroughs to ethical considerations, Eugen provides readers with a deep dive into the world of AI, demystifying complex concepts and exploring the transformative impact of intelligent technologies.


